
While modern web development has moved on to PHP 8.x, many legacy projects and WordPress themes still require PHP 7.2 to function correctly. However, if you are on a modern Mac (especially with Apple Silicon M1, M2, or M3 chips), installing an older version of PHP can be tricky because the official Homebrew repository has “deprecated” and removed it.
In this guide, we will use the most trusted community “tap” to install PHP 7.2 on your macOS machine safely and efficiently.
Prerequisites
Before starting, ensure you have Homebrew installed. If you don’t have it, open your terminal and run:
/bin/bash -c "$(curl -fsSL https://raw.githubusercontent.com/Homebrew/install/HEAD/install.sh)"Also, make sure your Xcode Command Line Tools are up to date:
xcode-select --installStep 1: Add the PHP Tap
Since PHP 7.2 is no longer in the core Homebrew repository, we need to add a specialized repository (tap) maintained by Shivam Mathur, which provides support for older PHP versions on modern macOS (including M1/M2/M3).
Run this command in your terminal:
brew tap shivammathur/phpStep 2: Install PHP 7.2
Now that the repository is added, you can install PHP 7.2 just like any other package:
brew install shivammathur/php/php@7.2Note for Apple Silicon (M1/M2/M3) users: This tap is fully compatible with ARM64 architecture, so it will run natively without needing Rosetta 2.
Step 3: Link the PHP Version
Even after installation, your Mac might still be using the default PHP version (or none at all). You need to “link” PHP 7.2 to your path.
brew link --overwrite --force shivammathur/php/php@7.2To make sure this change is permanent, you need to add the PHP path to your shell configuration (.zshrc or .bash_profile). Run the following command:
echo 'export PATH="/opt/homebrew/opt/php@7.2/bin:$PATH"' >> ~/.zshrc
echo 'export PATH="/opt/homebrew/opt/php@7.2/sbin:$PATH"' >> ~/.zshrc
source ~/.zshrc
(If you are on an Intel Mac, the path will likely start with /usr/local/opt/ instead of /opt/homebrew/opt/.)
Step 4: Verify the Installation
Check if the installation was successful by running:
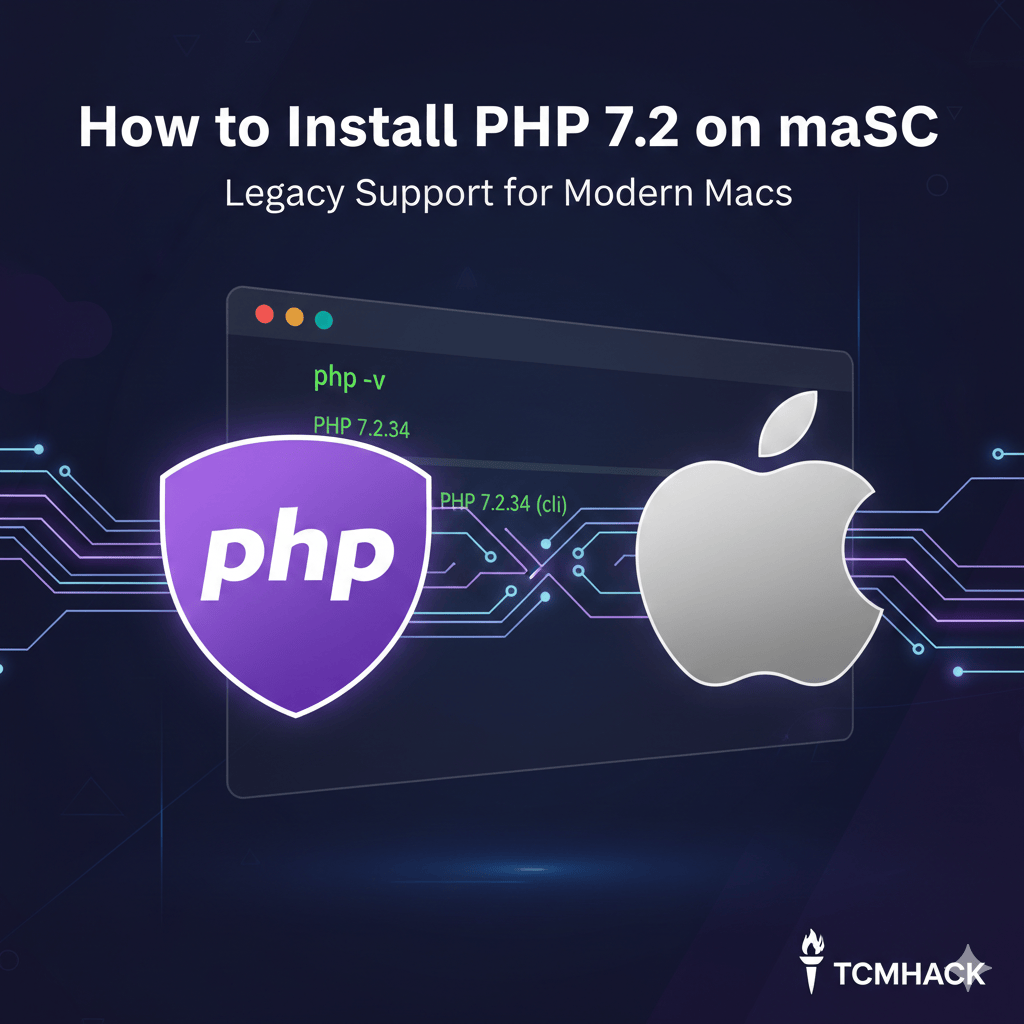
php -vYou should see an output similar to: PHP 7.2.34 (cli) (built: ...)
Step 5: How to Switch Between PHP Versions
If you have multiple PHP versions installed (e.g., 7.2 and 8.3), you can switch between them easily using these commands:
To switch to 7.2:
brew unlink php
brew link --overwrite --force php@7.2
To switch back to the latest version:
brew unlink php@7.2
brew link --overwrite --force php
Troubleshooting
- Read/Write Errors: If you get permission errors, try running
brew doctorto find and fix potential issues. - M-Series Chips: If you experience issues with extensions, ensure you are running the terminal natively (not via Rosetta) to avoid architecture mismatches.
Share this:

Discover more from TCMHACK
Subscribe to get the latest posts sent to your email.


