
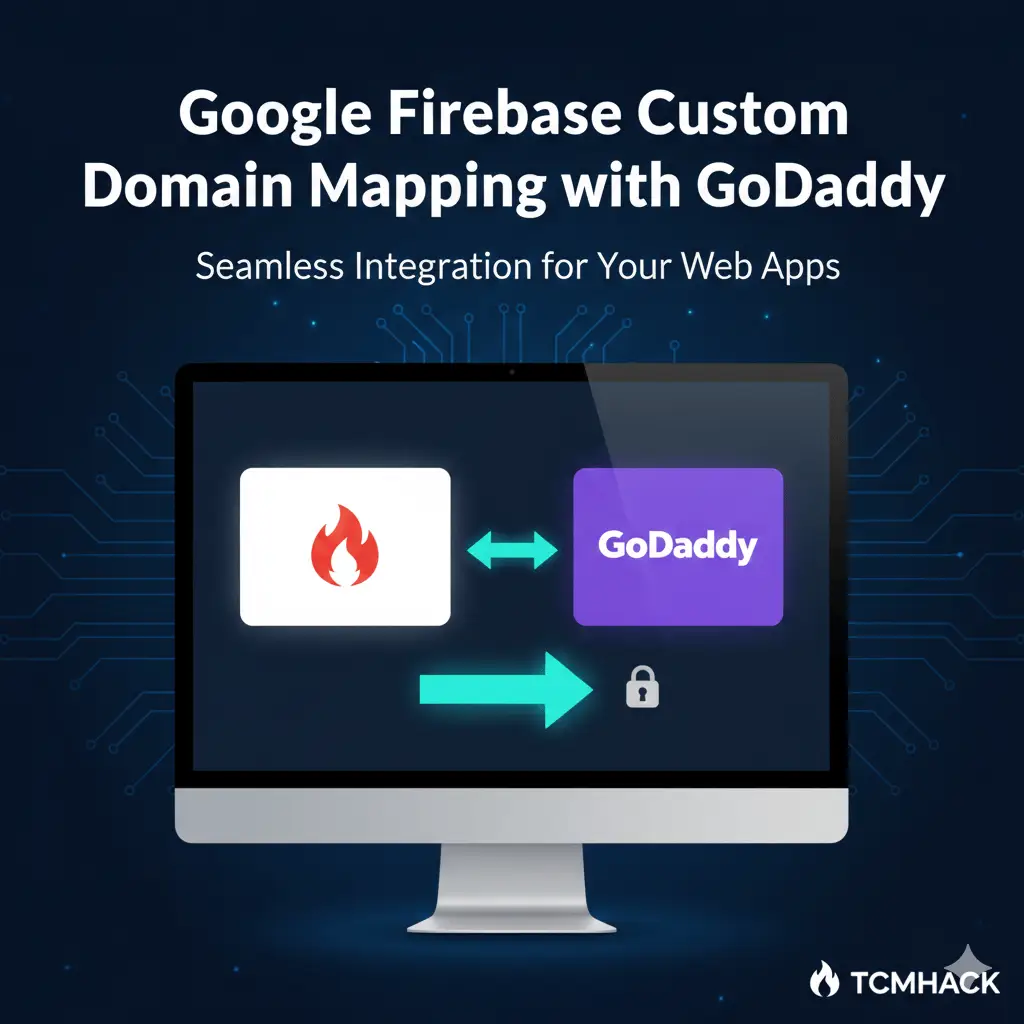
Deploying your application to Google Firebase is the first step, but to make it professional, you need to link it to a custom domain. While Firebase provides a default web-app.web.app URL, mapping your own domain—like one purchased from GoDaddy—is essential for branding and SEO.
In this guide, we will walk through the step-by-step process of mapping your GoDaddy domain or subdomain to your Firebase project.
Step 1: Access the Firebase Hosting Panel
Log in to the Firebase Console and select your project.
- Navigate to the Hosting section from the left-hand sidebar.
- In the Dashboard, you will see your default Firebase domains. Click the Connect domain button.


Step 2: Enter Your Domain Name
A pop-up will appear. Enter the domain or subdomain you purchased from GoDaddy (e.g., example.com or app.example.com).
- Note: If you want to redirect the apex domain (example.com) to the www version (www.example.com), make sure to check that option if prompted.
Step 3: Verify Domain Ownership
Firebase needs to ensure you own the domain. It will provide you with a TXT record for verification.
- Copy the entire verification string (e.g.,
google-site-verification=...). - Keep this tab open as you head over to GoDaddy.

Step 4: Configure DNS Settings in GoDaddy
- Log in to your GoDaddy Control Panel.
- Find your domain and click Manage DNS.
- Click Add to create a new record:
- Type:
TXT - Name (Host):
@(or your subdomain prefix) - Value: Paste the verification string you copied from Firebase.
- TTL: Default (1 Hour).
- Type:
- Save the record.

Step 5: Finalize Verification in Firebase
Go back to the Firebase console and click Verify.
- Note: DNS changes can take anywhere from a few minutes to a few hours to propagate. If it doesn’t verify immediately, wait a bit and try again.
Step 6: Map A-Records to Firebase IPs
Once verified, Firebase will provide you with two A-Records (IP addresses). You need to add these to GoDaddy to point your domain to the Firebase servers.
- In the GoDaddy DNS Management page, click Add.
- Create two separate records:
- Type:
A - Name (Host):
@ - Value: Paste the first IP address.
- Type:
- Repeat for the second IP address.
- Delete any existing “A” records that point to “@” if they were parked or pointing elsewhere.
Step 7: Wait for SSL Provisioning
After connecting, Firebase will automatically provision an SSL certificate for your domain.
- Initially, you might see a “Privacy Error” or “Not Secure” warning.
- Don’t panic! It usually takes about 24 hours for the certificate to become active. Once it does, your site will be fully accessible via
https://.
Summary Table: GoDaddy Settings
| Record Type | Host | Value |
| TXT | @ | google-site-verification=[Your Code] |
| A | @ | [Firebase IP 1] |
| A | @ | [Firebase IP 2] |
Share this:

Discover more from TCMHACK
Subscribe to get the latest posts sent to your email.


