
When you’re working in the Linux terminal, being able to create and edit text files is a fundamental skill. While powerful editors like Vim and Emacs are popular, they come with a steep learning curve that can be overwhelming for beginners.
That’s where GNU nano comes in. Nano is a simple, modeless, and user-friendly command-line text editor that provides all the essential features—like syntax highlighting, search and replace, and multiple buffers—without the complexity.
In this guide, we’ll cover everything you need to know to start using nano effectively.
Installing Nano
Nano is pre-installed on most Linux distributions and macOS. You can check if it’s available by running:
nano --versionIf it’s not installed, you can get it via your package manager:
- Ubuntu/Debian:
sudo apt install nano - CentOS/Fedora:
sudo yum install nano
Opening and Creating Files
To open an existing file or create a new one, simply type nano followed by the filename:
nano filename.txt
Navigation Basics
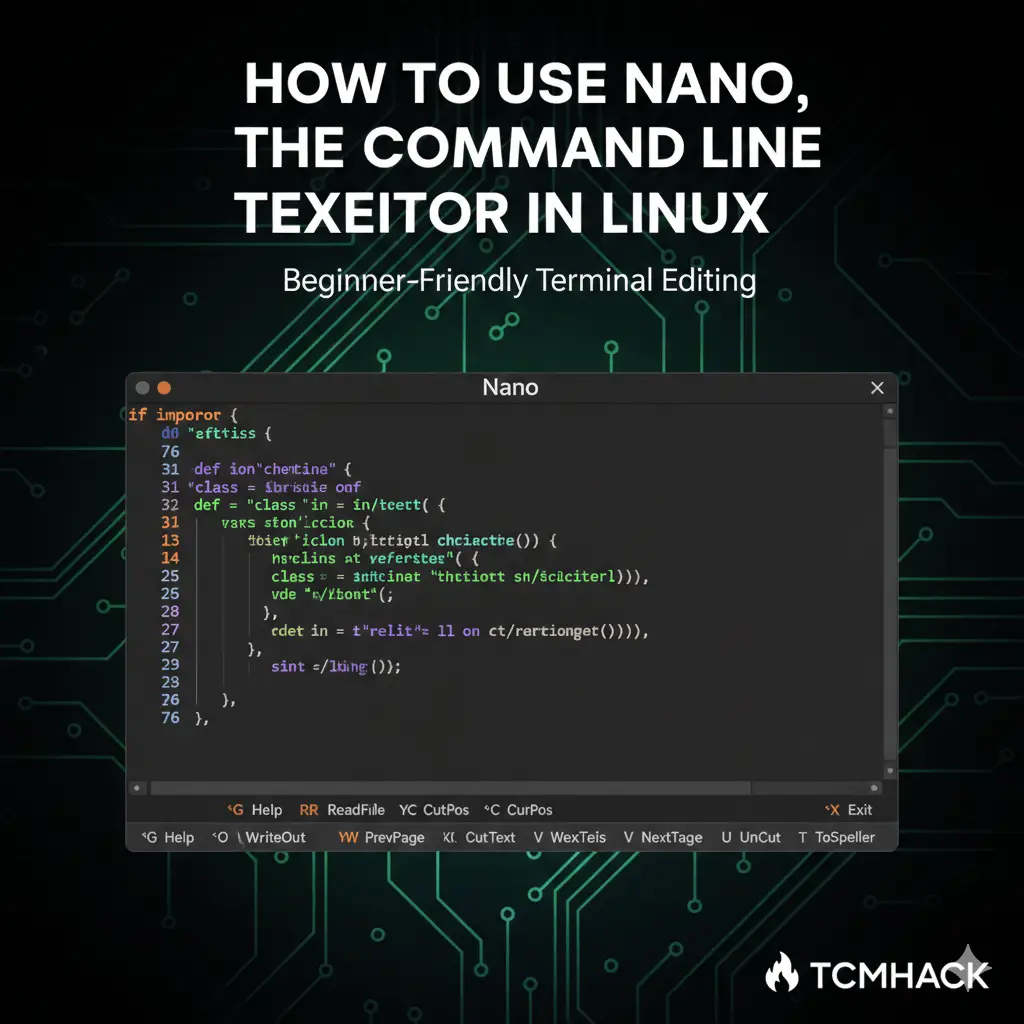
At the bottom of the nano window, you’ll see a list of shortcuts.
- The caret symbol (^) represents the Ctrl key.
- The letter M represents the Alt (Meta) key.
- For example,
^Gmeans press Ctrl + G to open the help menu.
Essential Commands for Editing
1. Editing Text
Unlike Vim, nano is “modeless.” This means you can just start typing as soon as you open the file. Use the arrow keys to move the cursor.
2. Searching and Replacing
- Search: Press
Ctrl + W, type your search term, and hit Enter. To find the next occurrence, pressAlt + W. - Replace: Press
Ctrl + \. Enter the text you want to find, then the text to replace it with. You can replace matches one by one or all at once.
3. Copy, Cut, and Paste
- Select Text: Move the cursor to the start, press
Alt + Ato set a mark, then move the cursor to the end of your selection. - Copy: Press
Alt + 6. - Cut: Press
Ctrl + K. (You can also use this to cut an entire line without selecting it first). - Paste: Move the cursor to the target location and press
Ctrl + U.
4. Saving and Exiting
- Save (Write Out): Press
Ctrl + O, then Enter to confirm the filename. - Exit: Press
Ctrl + X. If you have unsaved changes, nano will ask if you want to save them before quitting.
Customizing Your Experience
Nano reads configuration from a file called .nanorc. You can create this file in your home directory (~/.nanorc) to enable features like line numbers or permanent undo.
Example: Enabling syntax highlighting On most systems, syntax rules are stored in /usr/share/nano. You can include them in your configuration to make your code easier to read.
Setting Nano as Your Default Editor
Tired of your terminal opening Vim for visudo or git commits? You can make nano the default by adding these lines to your ~/.bashrc file:
export VISUAL=nano
export EDITOR="$VISUAL"
Summary Checklist
- Open:
nano filename - Search:
Ctrl + W - Cut Line:
Ctrl + K - Uncut (Paste):
Ctrl + U - Save:
Ctrl + O - Exit:
Ctrl + X
Nano is the perfect tool for quick edits and configuration changes. It’s reliable, lightweight, and lets you get the job done without memorizing a complex set of commands.
Share this:

Discover more from TCMHACK
Subscribe to get the latest posts sent to your email.


